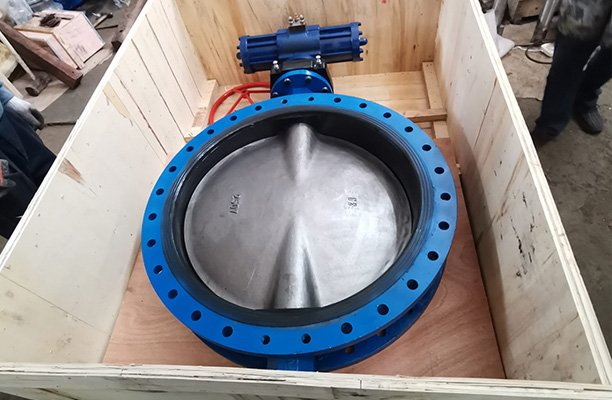
Installing a butterfly valve is a crucial step in ensuring efficient fluid flow control within pipe systems. Whether you’re working with seated butterfly valves or lug style valves, proper installation is key to preventing leaks and ensuring long-term functionality. This step-by-step guide will walk you through the entire process of installing a butterfly valve, from preparation to testing, ensuring a smooth and leak-free operation.
Tools and Materials Needed
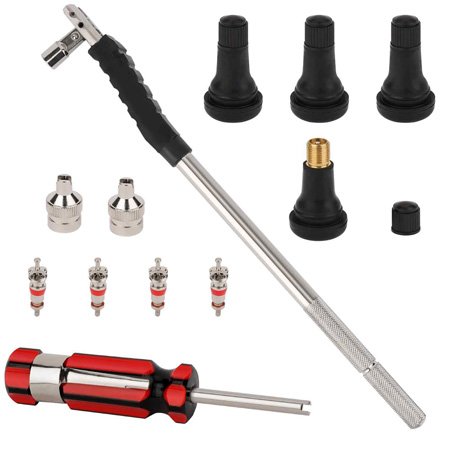
Before you begin installing your butterfly valve assemblies, make sure you have the following tools and materials:
- Wrenches (adjustable and torque)
- Gaskets (ensure compatibility with valve type)
- Flange bolts
- Rubber seat (if applicable)
- Lubricants (for smooth operation)
- PPE (Personal Protective Equipment)
Having the right materials and tools will ensure that you complete the installation without unnecessary delays or errors.
Understanding the Components of a Butterfly Valve
To effectively install the valve, it’s important to understand the key components:
- Body: The outer casing of the valve that houses the disc.
- Disc: This rotates to control the flow of fluids within the system.
- Seat: The sealing surface (often a rubber seat) ensures a leak-proof seal between the disc and the valve body.
- Actuator: Manually or automatically opens or closes the valve based on control signals.
Understanding these components helps in positioning the valve correctly, preventing issues like damage to the disc during operation.
Safety Precautions Before Starting Installation
Safety is paramount when working with pipelines and valves. Follow these precautions:
- Wear appropriate Personal Protective Equipment (PPE), including gloves, goggles, and safety shoes.
- Ensure the pipeline is completely depressurized and isolated to prevent accidents.
- Inspect the butterfly valve and the surrounding area for any damage or obstructions.
Adhering to these safety guidelines reduces risks and ensures a smooth installation process.
Preparing the Installation Site
Before mounting the butterfly valve, it’s crucial to prepare the pipeline and installation site:
- Clean the pipe ends: Remove any dirt, debris, or grease to ensure proper sealing.
- Check pipe alignment: Ensure the pipes are properly aligned to avoid stress on the valve.
- Inspect the valve: Verify that the butterfly valve is undamaged and suitable for the intended application.
Proper preparation minimizes the chances of leaks or installation issues.
Step 1: Preparing the Pipe and Valve
Before installing the butterfly valve, ensure the pipe is clean and properly aligned. Here’s how to get started:
- Clean the pipe flanges: Remove any dirt, debris, or rust from the flanges to ensure a tight seal.
- Position the valve carefully: Align the valve so that the valve seat aligns with the pipe flanges.
Tip: Ensure the valve is oriented correctly according to the flow direction and is positioned for easy actuator installation if needed.
Step 2: Installing the Gaskets
Gaskets play a critical role in preventing leaks and ensuring the valve works under pressure. Here’s how to install the gasket:
- Choose the right gasket: The gasket material should be compatible with your seated butterfly valves and pipeline type.
- Install the gasket between the valve body and the flanges: This ensures a proper seal when you tighten the bolts.
- Ensure proper alignment: Misalignment can cause leaks or damage to the valve, so align the gasket and valve carefully.
Step 3: Bolting and Tightening
Now that the valve is positioned and the gasket is in place, it’s time to tighten the flange bolts:
- Install the valve between the flanges: Align the flange holes and insert the bolts.
- Tighten the bolts evenly: Use a torque wrench to tighten the bolts in a crisscross pattern to apply even pressure. This step is crucial to prevent damage to the disc or uneven sealing.
- Check for leaks: Evenly tightened bolts create a proper seal, preventing leaks from the valve seat.
Step 4: Connecting the Actuator (if applicable)
If the butterfly valve uses an actuator (manual, pneumatic, or electric), follow these steps to install it:
- Align the actuator with the valve stem, ensuring the correct orientation for smooth operation.
- Secure the actuator by tightening the bolts or fasteners, ensuring it is firmly attached to the valve body.
- If using a pneumatic or electric actuator, ensure all connections (e.g., air supply or electrical wiring) are correctly installed according to the manufacturer’s guidelines.
Correct actuator installation ensures proper valve operation and minimizes wear and tear.
Step 5: Testing the Installation
Once the valve and actuator are installed, it’s essential to test the system to ensure everything is functioning correctly:
- Perform a pressure test by gradually applying the system’s operating pressure while checking for leaks around the valve body, flanges, and actuator connections.
- Verify that the valve operates smoothly by manually or automatically cycling the actuator to ensure the disc opens and closes properly.
- Check the valve’s sealing performance by inspecting for any leaks or irregularities in operation.
Testing ensures that your installation is secure and that the valve will perform as expected in normal operation.
Common Installation Mistakes to Avoid
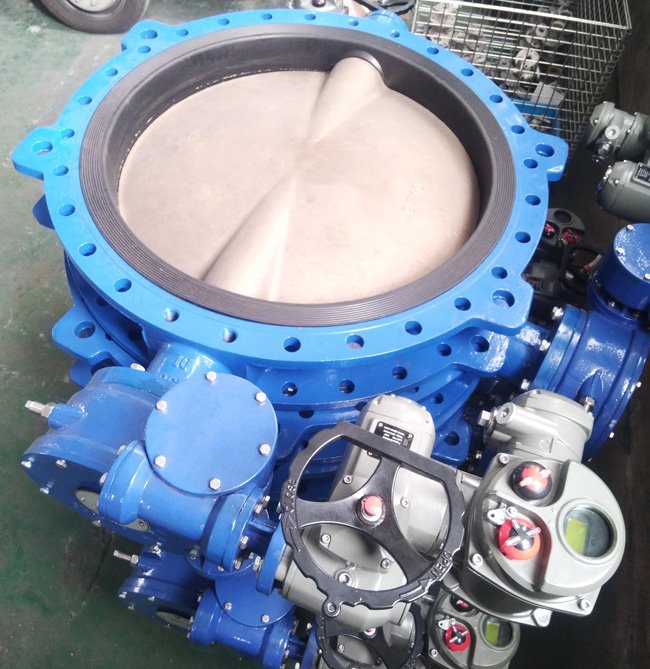
While installing a butterfly valve, it’s easy to make mistakes that can affect the valve’s performance. Here are some common mistakes to avoid:
- Misalignment: Failing to align the valve and pipeline properly can lead to stress and premature failure.
- Over-tightening bolts: Applying excessive force to the bolts can damage the valve body and cause leaks.
- Improper gasket selection: Using incompatible gaskets can lead to poor sealing and leaks.
- Skipping pressure tests: Failing to test the system after installation could result in undetected leaks or malfunctioning valves.
Avoiding these mistakes will help you achieve a successful, leak-free installation.
Tips for Ensuring Longevity of the Butterfly Valve
After installation, regular maintenance is essential to ensure the butterfly valve performs optimally throughout its lifespan:
- Regular inspections: Periodically inspect the valve for signs of wear, corrosion, or leakage.
- Cleaning: Keep the valve and surrounding areas free from dirt, grime, and build-up that could affect performance.
- Lubrication: Apply lubricant to the valve stem and actuator (if applicable) to prevent wear and ensure smooth operation.
- Replace worn-out gaskets: Gaskets can wear out over time; replace them regularly to prevent leaks.
By maintaining your butterfly valve, you can extend its service life and maintain reliable operation.
Troubleshooting Common Issues After Installation
Even after careful installation, issues can arise. Here’s how to troubleshoot common problems:
- Sticking or hard-to-turn disc: This may be due to misalignment, debris, or insufficient lubrication. Check for proper alignment and clean the valve if necessary.
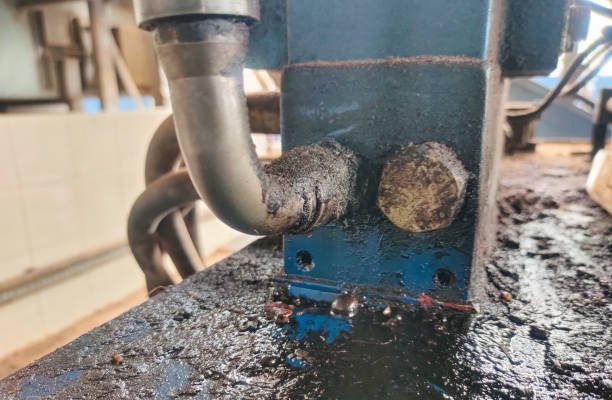
- Leaks around the valve seat or flanges: This could indicate improper gasket placement or inadequate bolting. Tighten bolts evenly and check the gasket for wear.
- Improper sealing: If the valve fails to fully close, inspect the valve body, disc, and actuator connections for issues that may hinder smooth movement.
Quickly addressing these issues will prevent long-term damage and ensure the butterfly valve operates efficiently.
When to Call a Professional
While installing a butterfly valve is often a straightforward task, there are certain situations where professional help is necessary:
- Severe misalignment: If the pipes are misaligned and the valve installation requires complex adjustments, calling a professional is the best option.
- Frequent valve malfunction: If the valve is not operating correctly even after multiple adjustments, it could indicate deeper issues, such as actuator problems or internal valve damage.
- High-pressure systems: Professional expertise ensures the valve is installed and tested according to safety standards for systems operating at extremely high pressures or in hazardous environments.
- When unsure about actuator installation: If the actuator is complex (pneumatic or electric), professional assistance may be necessary to ensure proper wiring, calibration, and operation.
Seeking expert help in these cases ensures safety and system reliability, preventing potential accidents and costly repairs.
Conclusion
Installing a butterfly valve may seem like a simple task, but it requires careful attention to detail and proper techniques. From ensuring the right gasket placement to conducting thorough tests after installation, each step is crucial for the proper functioning of the valve. By following the guidelines outlined in this guide, you can confidently install your butterfly valve and avoid common mistakes that could impact performance.
Remember, regular maintenance and troubleshooting can help extend the life of your valve and prevent costly repairs. If you encounter any issues, don’t hesitate to seek professional assistance to ensure the optimal operation of your system.
FAQs
What is the primary function of a butterfly valve?
A butterfly valve regulates the flow of liquids or gases through a pipe by controlling the rotation of a disc inside the valve. Industries like water treatment, HVAC, and food processing commonly use it.
Can I install a butterfly valve in any type of pipeline?
Butterfly valves are versatile and can be installed in most pipeline types, including those carrying water, chemicals, and gases. However, it’s important to ensure that the valve material and size are compatible with your pipeline specifications.
How do I select the right gasket for a butterfly valve?
The gasket selection depends on the type of butterfly valve, the fluid being transported, and the temperature and pressure conditions. Rubber, PTFE, and metal gaskets are commonly used for butterfly valves. Always refer to the valve manufacturer’s guidelines for gasket recommendations.
What should I do if the valve is not functioning properly after installation?
If the valve is not functioning as expected, check for alignment issues, improper gasket installation, or inadequate actuator setup. Also, perform leak tests and ensure the valve is not obstructed. If problems persist, seek professional assistance.
Is it necessary to test the valve after installation?
Yes, testing the valve is crucial to ensure proper operation. Pressure tests and leak checks should be performed after installation to verify the integrity of the valve and ensure that it functions as expected under normal operating conditions.

