Introduction: The Hidden Challenge of Ferrule Fittings
Ferrule fittings are a crucial component in plumbing, gas systems, and instrumentation setups, offering a leak-tight, secure seal between pipes or tubes. Their utility spans industries like HVAC, chemical processing, and household plumbing. However, one persistent issue even seasoned professionals encounter is stuck ferrule fittings. These fittings, once jammed, can become an obstacle to maintenance and repair — especially if handled without the right tools or knowledge.
This guide provides a detailed, expert-driven approach to understanding, diagnosing, and resolving stuck ferrule fittings efficiently and safely. Whether you’re a DIYer or a professional plumber, this article will equip you with actionable steps to avoid system damage and wasted time.
What Are Ferrule Fittings?
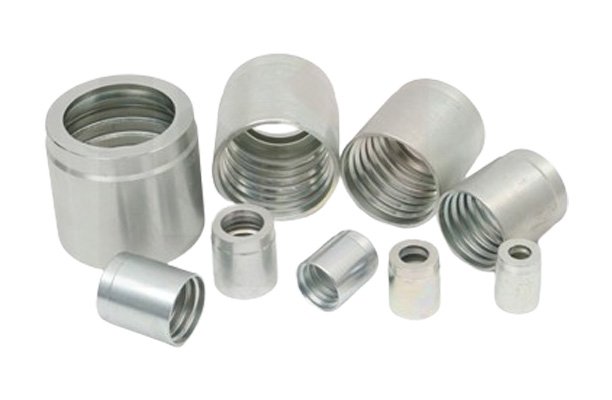
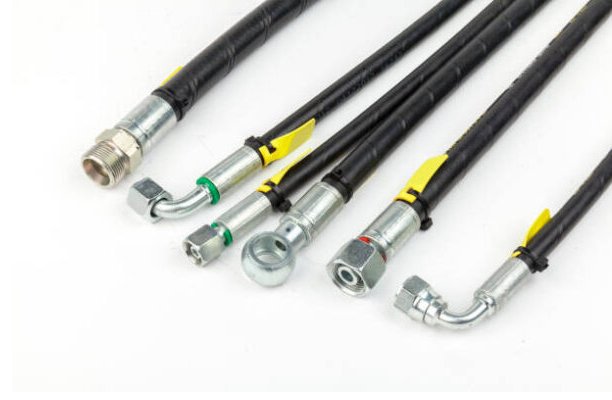
Ferrule fittings, also known as compression fittings, consist of three main parts: the compression nut, the body, and one or more ferrules (compression rings). These fittings are designed to create a high-integrity, leak-resistant seal without the need for soldering or adhesives.
When the nut is tightened, it compresses the ferrule(s) around the pipe or tubing, creating a seal between the ferrule and both the fitting body and the pipe itself. The type and number of ferrules vary by manufacturer, but most fall into two categories:
- Single Ferrule: Simpler design used in low-pressure systems.
- Double Ferrule: Offers enhanced sealing and holds better in high-vibration or high-pressure environments.
Common materials for ferrule fittings include brass, stainless steel, and sometimes plastic. Each material has its own pros and cons depending on the application environment, such as corrosion resistance, pressure ratings, and temperature tolerance.
Common Reasons Ferrule Fittings Get Stuck
Understanding why a ferrule fitting becomes stuck is crucial before attempting removal. Below are the primary causes:
1. Overtightening
Applying excessive torque during installation can deform the ferrule and cause it to seize against the tubing. Once deformed, it becomes incredibly difficult to remove without causing further damage.
2. Corrosion and Oxidation
In humid or chemically reactive environments, moisture and reactive substances can cause corrosion, particularly in brass and steel fittings. This buildup locks the ferrule in place and can lead to pipe pitting or thread damage when trying to loosen it.
3. Galvanic Corrosion from Incompatible Metals
Pairing dissimilar metals, such as copper tubing with stainless steel ferrules, may lead to galvanic corrosion. This electrochemical reaction can fuse components together over time, effectively making the fitting \”welded\” in place.
4. Long-Term Use and Aging
Over the years, ferrule fittings may naturally become more difficult to remove due to hardened seals, metal fatigue, or mineral deposits. Aging often exacerbates other issues like corrosion and overtightening.
5. Debris or Chemical Residue
In chemical lines or water systems with high mineral content, residue or debris can accumulate around the fitting. This increases friction and makes disassembly harder than it should be.
Tools You’ll Need to Loosen a Stuck Ferrule

Before attempting to remove a stuck ferrule fitting, assembling the right tools is essential. Using inappropriate tools can not only damage the fitting but also lead to injury or expensive system repairs. Here’s what you’ll need:
- Adjustable Wrench or Open-End Spanner: A sturdy wrench provides the torque necessary to rotate the compression nut and body. Make sure it’s appropriately sized to prevent rounding off the corners.
- Ferrule Puller Tool: This specialized tool is designed to safely extract ferrules without damaging the tube or fitting body. Highly recommended for stainless steel or hardened ferrules.
- Penetrating Oil: Products like WD-40, Liquid Wrench, or PB Blaster can seep into tight crevices and help break down rust or mineral buildup. Allow enough time for the oil to work before attempting removal.
- Tube Cutter: As a last resort, a precision tube cutter may be required to remove the section of tubing that’s irreparably seized with the ferrule.
- Protective Gear: Wear safety gloves and eye protection to guard against flying metal shavings or lubricant spray-back.
Optional but useful accessories include heat-resistant gloves (if heat is used), a wire brush for cleaning, and a magnifying glass to inspect fine corrosion or cracks.
Step-by-Step Guide to Removing a Stuck Ferrule Fitting
Now that you’re equipped, follow this systematic process to free a stuck ferrule fitting safely and efficiently:
Step 1: Inspect the Fitting
Begin by examining the fitting’s condition and surrounding area. Identify signs of corrosion, swelling, or deformation. Check whether the nut is visibly seized or if any lubricant residue is present.
Step 2: Apply Penetrating Oil
Generously apply penetrating oil around the compression nut and the fitting body where the ferrule is seated. Allow it to soak for at least 15–30 minutes. For severe corrosion, a longer wait (up to several hours) may be necessary.
Step 3: Use a Wrench with Controlled Force
Grip the compression nut and fitting body with two wrenches. Apply steady, even torque—avoid sudden jerks or hammering, which can deform the pipe or fitting. Alternate between clockwise and counterclockwise motion to loosen any debris or corrosion.
Step 4: Deploy a Ferrule Puller
If the nut comes off but the ferrule remains stuck on the tubing, use a ferrule puller. This tool clamps around the tubing and exerts axial force to slide the ferrule off without scoring the metal or cracking the fitting.
Step 5: Cut the Tube (Last Resort)
If the ferrule is irretrievably seized and removal compromises the system’s integrity, use a tubing cutter to excise the affected portion. Ensure you cut cleanly and allow room for reinstallation with a new fitting.
Preventing Future Issues with Ferrule Fittings
Once you’ve gone through the trouble of removing a stuck ferrule, the last thing you want is a repeat occurrence. These preventative measures will significantly reduce the risk of fittings becoming stuck again:
Use Anti-Seize Compounds
Apply a small amount of anti-seize compound or PTFE-based thread lubricant to the nut threads. This creates a barrier against moisture, corrosion, and friction during tightening and future disassembly.
Avoid Over-Tightening
Always follow the manufacturer’s torque specifications. Hand-tighten and then use a wrench for the final 1/4 to 1/2 turn unless otherwise indicated. Over-torquing is one of the leading causes of deformation and seizure.
Choose Compatible Materials
Ensure that the tubing and ferrule materials are compatible. Avoid pairing dissimilar metals that may create a galvanic reaction, especially in damp or chemically reactive environments.
Regular Maintenance and Inspection
Schedule periodic inspections of your system, particularly in high-pressure or corrosive applications. Look for signs of leakage, discoloration, or rust, and reapply lubricants or tighten fittings as necessary.
Use Quality Parts
Invest in high-quality ferrule fittings from reputable manufacturers. Cheap or counterfeit parts often use inferior alloys and manufacturing tolerances, which increase the risk of sticking and failure over time.


