Hydraulic Pressure Testing: What It Is and Why It Matters
Hydraulic systems are the lifeline of many industries—powering everything from heavy machinery to industrial equipment. But like any mechanical system, they’re prone to wear, leaks, and potential failure. That’s where hydraulic pressure testing comes in.
This process involves applying controlled pressure to a hydraulic system to check for leaks, weaknesses, and overall functionality. It’s not just about identifying problems—it’s about ensuring long-term performance and safety. After all, nobody wants to deal with a system failure during critical operations, right?
What Is Hydraulic Pressure Testing?
At its core, hydraulic pressure testing is a diagnostic process used to evaluate the integrity, strength, and leak-resistance of hydraulic systems. It’s like giving your hydraulic system a “stress test” to ensure it can handle real-world operational demands without failing.
In hydraulic systems, components like hoses, seals, pumps, and valves must withstand immense pressure during regular use. Even a small defect can snowball into catastrophic failure, costing you time, money, and, in some cases, compromising safety.
This testing process is carried out under controlled conditions to simulate actual operating pressures. It ensures your system can perform optimally without risking leaks, bursts, or inefficiencies.
Why Is Hydraulic Pressure Testing Important?

Hydraulic systems power industries like construction, manufacturing, agriculture, and aviation. However, these systems aren’t immune to wear and tear. Over time, constant exposure to high pressure and harsh environments can cause failures, leaks, and breakdowns. Here’s why hydraulic pressure testing is indispensable:
1. Prevents Costly Downtime
Imagine your hydraulic system failing in the middle of a critical operation. Such unexpected breakdowns can lead to costly downtime and disrupted workflows. Regular pressure testing allows you to catch and fix issues early, minimizing interruptions.
2. Enhances Safety
Hydraulic systems operate at extremely high pressures. A single malfunction could result in equipment damage or injuries to personnel. Pressure testing ensures your system meets safety standards, reducing risks in the workplace.
3. Improves System Efficiency
Leaks and inefficiencies in a hydraulic system can reduce performance and increase energy consumption. Pressure testing identifies and eliminates such problems, ensuring your system runs smoothly and efficiently.
4. Prolongs Equipment Lifespan
By detecting weaknesses like worn seals or cracked hoses, pressure testing helps prevent these minor issues from escalating into major repairs. This extends the life of your hydraulic components, saving you money on replacements.
5. Ensures Compliance
Many industries have stringent safety regulations for hydraulic systems. Regular pressure testing ensures your equipment meets these compliance requirements, keeping you on the right side of industry standards.
How to Perform Hydraulic Pressure Testing: A Detailed Step-by-Step Guide
Performing hydraulic pressure testing might sound intimidating, but it’s a systematic process that anyone with the right tools and knowledge can follow. Here’s a detailed breakdown:
Step 1: System Preparation
Before starting, shut down the hydraulic system and disconnect it from its power source. This step is crucial to ensure safety. Clean the system thoroughly to remove dirt, grease, or debris that could interfere with the test.
Step 2: Visual Inspection
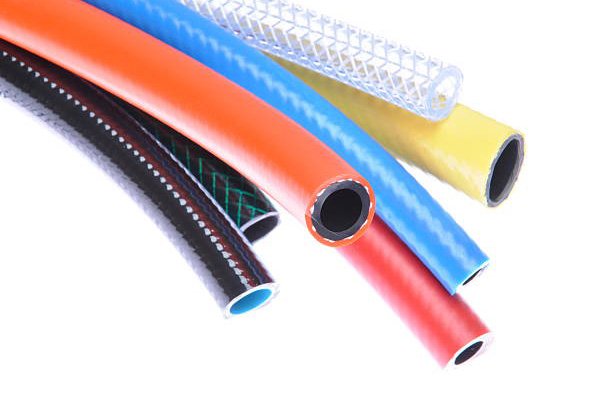
Inspect the system for visible damage, such as worn hoses, cracked fittings, or loose connections. Address these issues before proceeding, as they can compromise the test’s accuracy and safety.
Step 3: Set Up Testing Equipment
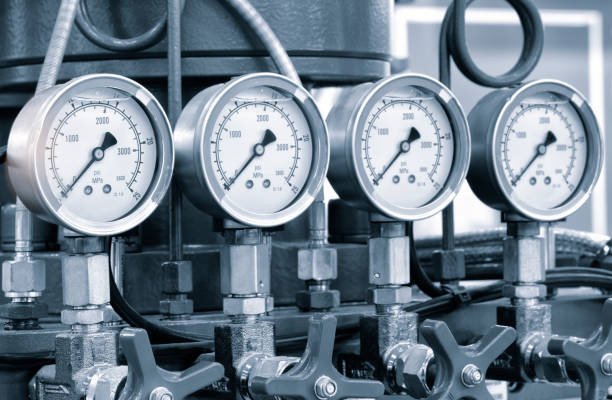
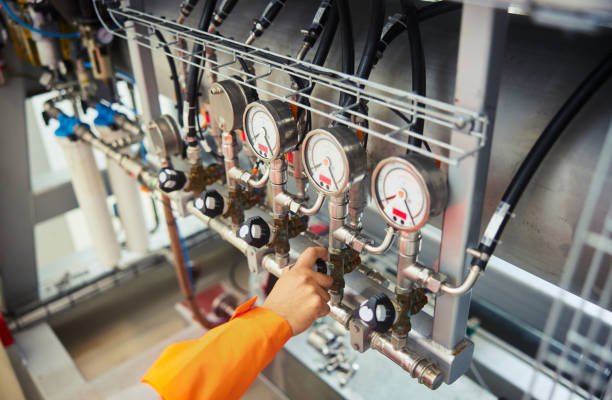
Attach the pressure pump to the hydraulic system using the appropriate fittings. Secure pressure gauges at strategic points to monitor pressure levels during the test. Use only calibrated equipment to ensure accurate readings.
Step 4: Fill the System with Test Medium
Fill the hydraulic system with the chosen test medium. Water is commonly used for hydrostatic testing, while hydraulic fluid may be used for systems that require real operating conditions. Bleed the system to remove any trapped air, as air pockets can cause inaccurate pressure readings.
Step 5: Apply Pressure Gradually
Start the test by gradually increasing the pressure using the pump. The pressure should be increased in small, controlled increments, allowing technicians to monitor the system’s response. Avoid exceeding the manufacturer’s recommended pressure limit to prevent accidental damage.
Step 6: Inspect for Leaks and Defects
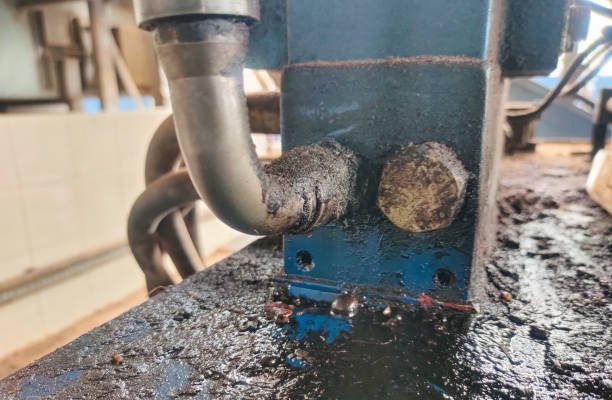
During the test, inspect all hoses, seals, and connections for leaks. Use a flashlight or UV dye (if added to the test medium) to detect any fluid escaping from the system. Weak points or failures will often become apparent under pressure.
Step 7: Hold Pressure
Once the desired pressure is reached, hold it for a specified duration—usually determined by industry standards or manufacturer recommendations. This allows you to assess the system’s ability to maintain pressure without leakage or failure.
Step 8: Document Findings
Record all test results, including pressure levels, duration, and any issues identified. This data is invaluable for planning maintenance, repairs, or system upgrades.
Types of Hydraulic Pressure Testing
Different applications require different types of pressure testing. Here’s a closer look at the most common methods:
1. Static Pressure Testing
This method involves applying constant pressure to the system to evaluate its ability to hold pressure without leaking. It’s ideal for identifying issues like small cracks, worn seals, or loose connections.
2. Dynamic Pressure Testing
Unlike static testing, dynamic testing simulates real-world operating conditions by applying fluctuating pressure. It’s used to evaluate the system’s performance under actual working conditions.
3. Hydrostatic Testing
This is one of the most commonly used methods. It involves filling the system with water and pressurizing it to check for leaks and weaknesses. Hydrostatic testing is often mandatory for safety compliance in industries like oil and gas.
4. Pneumatic Testing
This method uses air or gas instead of liquid. While it’s less common, pneumatic testing is useful for systems that cannot tolerate water or hydraulic fluid. However, it requires extra precautions due to the compressibility of gas, which can pose safety risks.
Best Practices for Hydraulic Pressure Testing
Following these best practices ensures accurate results and maximum safety during testing:
- Use High-Quality Equipment: Invest in reliable testing tools and ensure they’re regularly calibrated. Faulty equipment can lead to inaccurate results and potential damage.
- Follow Manufacturer Guidelines: Always adhere to the recommended pressure limits and testing procedures provided by the manufacturer.
- Wear Protective Gear: Safety comes first. Always wear gloves, goggles, and other protective equipment when handling hydraulic systems.
- Maintain a Safe Distance: During the test, stand clear of hoses and connections in case of sudden failures or bursts.
- Inspect Post-Test: Once the test is complete, inspect the system again to ensure no new issues have emerged during the process.
FAQs
1. What is the difference between hydrostatic and pneumatic testing?
Hydrostatic testing uses liquid (usually water), while pneumatic testing uses air or gas. Hydrostatic testing is safer due to the incompressibility of liquids, while pneumatic testing requires additional precautions due to the risk of explosive failure.
2. How long should a hydraulic pressure test last?
The duration depends on the system and industry standards. Most tests require holding the maximum pressure for 10-30 minutes to ensure the system’s integrity.
3. Can I use regular water for hydrostatic testing?
Yes, but ensure the water is clean and free of impurities that could damage the system. For some systems, additives may be required to prevent corrosion.
4. What are the signs of a failing hydraulic system?
Common signs include slow operation, unusual noises, leaks, and increased energy consumption. Pressure testing can confirm these issues and pinpoint the root cause.
5. What happens if the system fails the test?
If the system fails, repairs or replacements are needed for faulty components. After fixing, the system should be retested to ensure safety.
6. What are the main risks of hydraulic pressure testing?
The main risks include overpressurizing the system, which can cause component failure, or improper handling of the equipment. Always follow safety precautions.


